Having a lush green lawn is the dream of every homeowner. But before you learn how to make the most of your home garden, you should know how to lay sod. Sod is the first seedling of grass that develops a root system to give you the main grass of your lawn.
While DIY installation of sod has become popular, especially during the pandemic, it is advised to hire professional landscapers to avoid the risk of wasting money on the wrong grass or installation. If you have decided to take up this project, this article will cover everything you need to know about installing sod.
Tools You Need
Materials you need
Getting Started: How Much Sod Do You Need?
Before you run off to the garden center or place an order, you need to figure out how much sod your yard actually needs. Start by measuring the area where you want to lay the new grass. It’s easiest to break your yard down into rectangles, even if it’s oddly shaped.
Measure the length and width of each section in feet, multiply them together to get the square footage, and then add all the sections up. Be sure to order 5–10% more sod than your total square footage. This gives you some buffer for trimming and shaping around curves, edges, and garden beds.
For example, if your total is 1,000 square feet, order at least 1,050 to 1,100 square feet of sod.
Where to Buy Sod (and What Kind to Get)
Once you know how much sod you need, it’s time to find a supplier. You can get sod from local nurseries, sod farms, some home improvement stores like Lowe’s or Home Depot, or online (though local is usually better for freshness).
It’s important to choose the right type of grass for your region.
- If you live in a cooler climate, look for cool-season grasses like fescue or Kentucky bluegrass.
- If you’re in a warm area, Bermuda or zoysia might be better suited.
When in doubt, ask your local supplier for recommendations—they’ll know what thrives in your area.
One last tip: plan your delivery for a day when you can install the sod right away. Sod is a living product, and it can die quickly if left rolled up too long.
How to Lay Sod (Step-by-Step)
If you want to build your lawn on your own, follow these steps for installing sod:
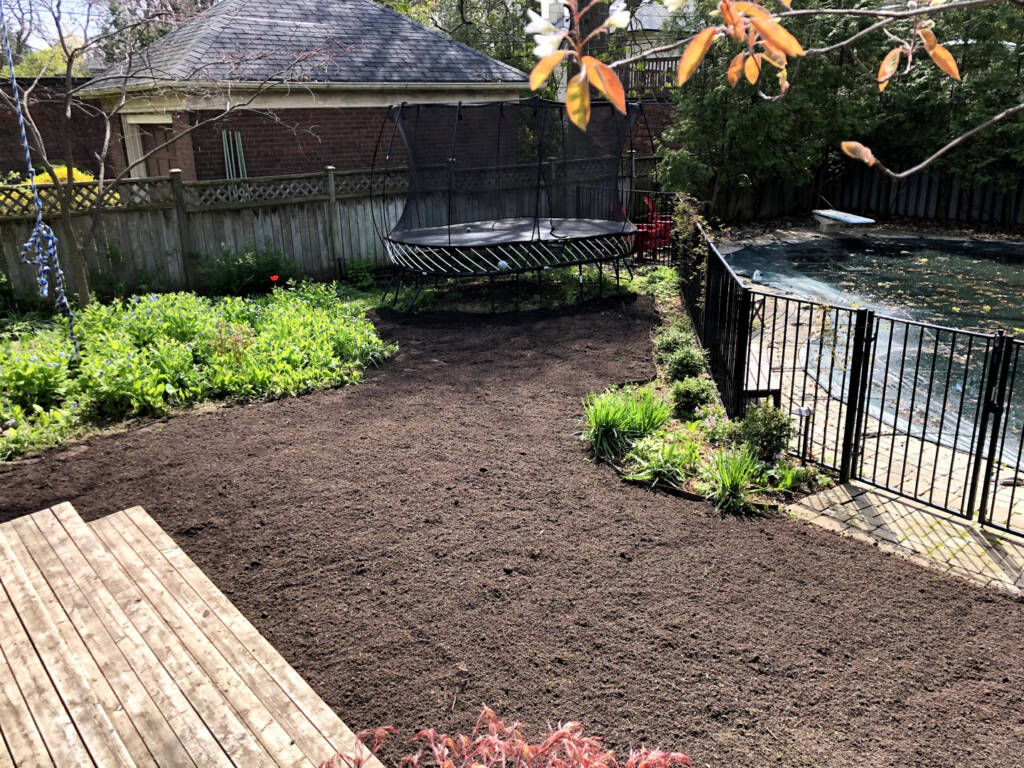
Step 1: Prep the Area
Before sod lawn installation, ensure that the top soil is properly raked and evenly spread. Once that is done, sprinkle some water to compact the top soil and moisten it. If you see any small gaps, fill them with topsoil.
Step 2: Lay the First Roll
The first roll should be laid alongside the edges of your lawn like the driveway or the curb. Ensure that it is laid out in a straight line. Follow the brickwork pattern while laying the sod.


Step 3: Position and Unroll Each Roll Row by Row
Once you have unrolled the first row, place your next roll beside the first row and unroll right alongside the first row to make sure there are no gaps. If you are sodding a sloped area, lay the sod horizontally and use stakes to position the sod tightly.
Step 4: Ensure that The Sod Installation Is Done Right from The Edges
Be extra conscious around the edges of your sod. Cut off any uneven edges using a knife and shape the area to contour the curb or the driveway.

Step 5: Level Your Sod with a Lawn Roller
It is important to level the sod once it is laid out. This can be done with a lawn roller. Roll to remove any air pockets. This will also help ensure that the sod is properly attached to the soil. If the new sod seems extremely dry, water the sod rolls before running the roller on them.
Step 6: keep Your Sod Well-Nourished and Hydrated
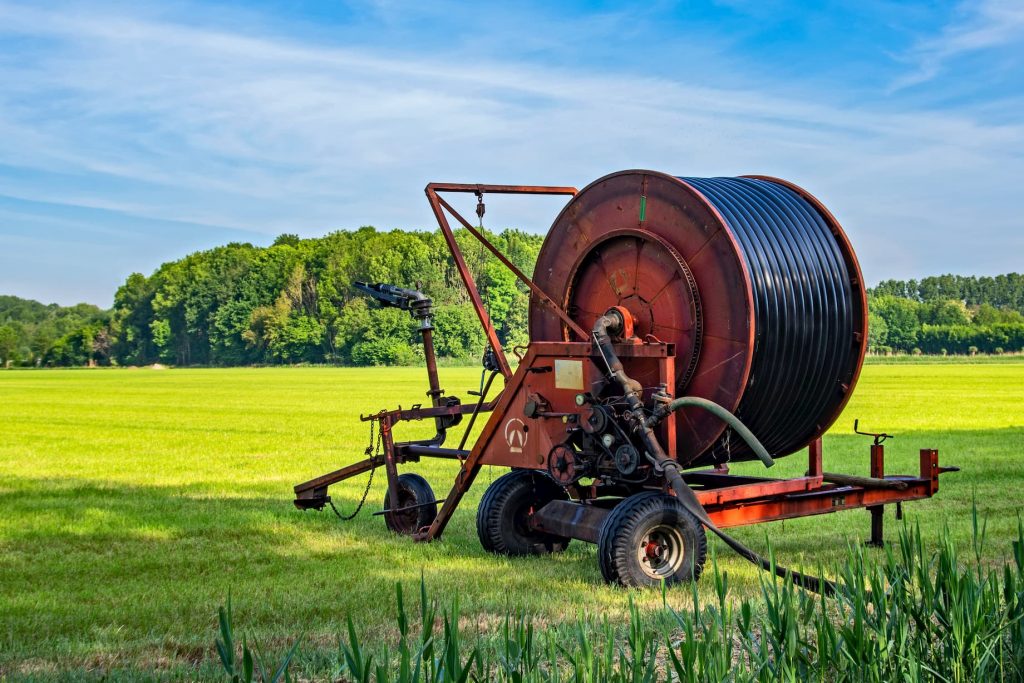
Once you have installed the sod, immediately water the new sod. Watering the sod will also help it stay fixed on your lawn. Use a sprinkler to avoid the concentration of water in one area of your newly sodded lawn. Water the lawn up to 1 inch and check the penetration by lifting the corners of the sod.
Common Mistakes to Avoid
A few simple mistakes can ruin an otherwise great sod installation. Here are the big ones to watch out for:
- Leaving sod rolled up for too long: it will heat up and die.
- Not watering right away: even a few dry hours can damage fresh sod.
- Laying sod on dry, hard, or uneven soil: the roots won’t grow properly.
- Overlapping pieces or leaving big gaps: this leads to poor coverage and patchy growth.
- Overwatering or underwatering: aim for moist, not soggy soil.
Tips from Sod Farmers
Sod farmers know how to bring out the best from your DIY installation of sod and ensuring that the groundwork is durable for years to come. Here are some tips that you must keep in mind:

Measure Your Lawn Accurately
Take measurements of the area to be sodded with a tape measure. Sod is more expensive than seeding your lawn, and you should only buy what you need to cover the desired area of your property. Ensure that you are purchasing the right type of sod grass for your needs.
Prepare the Soil in A Timely Way
Do not keep the soil you bought for hours before you finally lay it on your lawn. Sod should be laid immediately after it arrives so it is fresh and lively. It is better to prep the lawn before the sod is bought. It is also recommended to remove any remaining pieces of grass if you are not sodding over your existing. Clean the lawn of any rocks, old roots or tiles. While prepping the top soil, add herbicide products to eliminate weeds. However, this should be done 10 to 14 days before the actual sod installation. The amount of fertilizer is recommended to be 1 pound per 100 square feet.

Make Sure that The Sod Is Installed Properly
The installation should be done in a way that there are no gaps. All the pieces should be put together tightly. Once the lawn is sodded, the entire lawn can be watered to up to 10 inches. For the roots to be established, it is important to water the lawn twice daily for 10 to 15 minutes.
Don’t Let Sod Dry Out
Ensure that the sod does not dry out. Do not keep the dod out in direct sunlight without water. Keeping the sod moist is an important part of instaling it correctly. At the same time, ensure that there is no pool of water on the lawn.


Try to Keep Garden Wildlife Away from The Freshly Sodded Lawn
It is common for wild bunnies and racoons around your area to be attracted to the fresh sod soil of your lawn. However, they can nibble and damage your soil and their urine can damage or burn the new sod. This is why should try to keep them away by using garden fences or wires.
Don’t Use a Lot of Chemicals
Always consult a professional before buying or applying any fertilizer to your lawn. With so many fertilizers available in the market today, it is important to use the right for your sod preparation to maintain the natural qualities of your lawn.


Don’t Overdo the Rolling of The Lawn After Freshly Installing the Sod
While rolling of the lawn is important to evenly spread the sod, overdoing it may damage its surface thereby hampering the root establishment.
Don’t Buy Just Any Grass
Buying the right grass is one of the most important tips for laying sod. You should check the type of sod and its nitrogen quantity. You should also inspect the sod to make sure it is free of weeds or it can damage your lawn and cause additional expenditures.

Final Thoughts
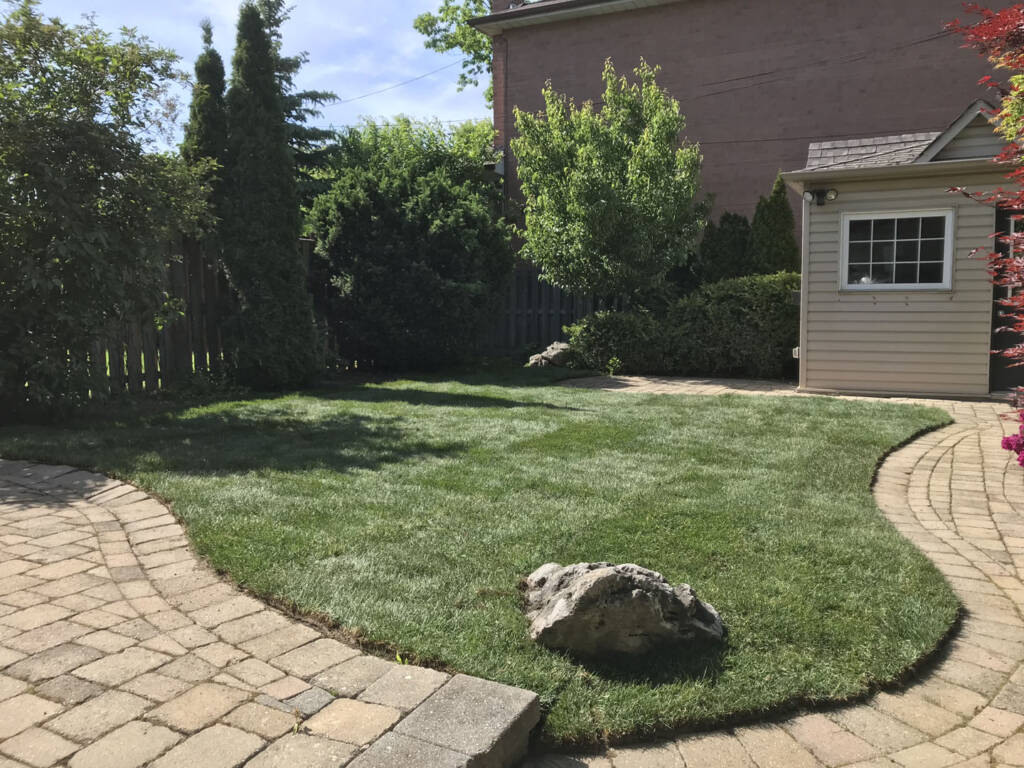
Laying sod is one of the most satisfying DIY projects you can do for your home. With a little planning, the right tools, and some patience, you can go from bare dirt to a beautiful, ready-to-use lawn in just a few weeks.
Take your time with prep, stay on top of watering, and be gentle with your new grass while it roots. Your effort will pay off with a soft, green yard that looks like it’s been growing there for years.
FAQs
If the ground is prepped right, sod can be installed at any time of the year. However, it is always better to avoid sodding during heavy rainfall or snowfall. If the weather is hot and dry, you should avoid sodding. The best times to sod are during spring and early autumn. This is because the temperature is cool and the rainfall is in the right amount which helps the sod grow roots faster. The best time to lay sod also depends on the kind of grass you are growing. For instance, if you are planning to grow grasses like centipede and zoysia, you should consider slightly warmer temperatures of later spring.
A healthy base layer of topsoil is essential. Aim for 3 to 4 inches of nutrient-rich, well-draining topsoil across the lawn area. Level the surface so it sits about 1 inch below driveways, sidewalks, and edging. Before laying sod, lightly compact the soil with a roller and ensure it’s moist (but not wet) to promote root contact and reduce air gaps. Adding compost or starter fertilizer can further boost root establishment.
Yes — the soil should be moist but not muddy before installation. Lightly water the area the day before or the morning of sod delivery to ensure the top 1–2 inches of soil are damp. This helps sod roots bond quickly with the ground, while preventing muddy conditions that can interfere with alignment or cause rutting during installation.
No. Installing sod over existing grass prevents root contact with the soil and leads to poor establishment, uneven growth, and decay. Always remove old turf, weeds, and debris, then loosen and level the topsoil before laying new sod. While decaying grass might provide some nutrients, it’s more likely to create drainage and root issues if left underneath.
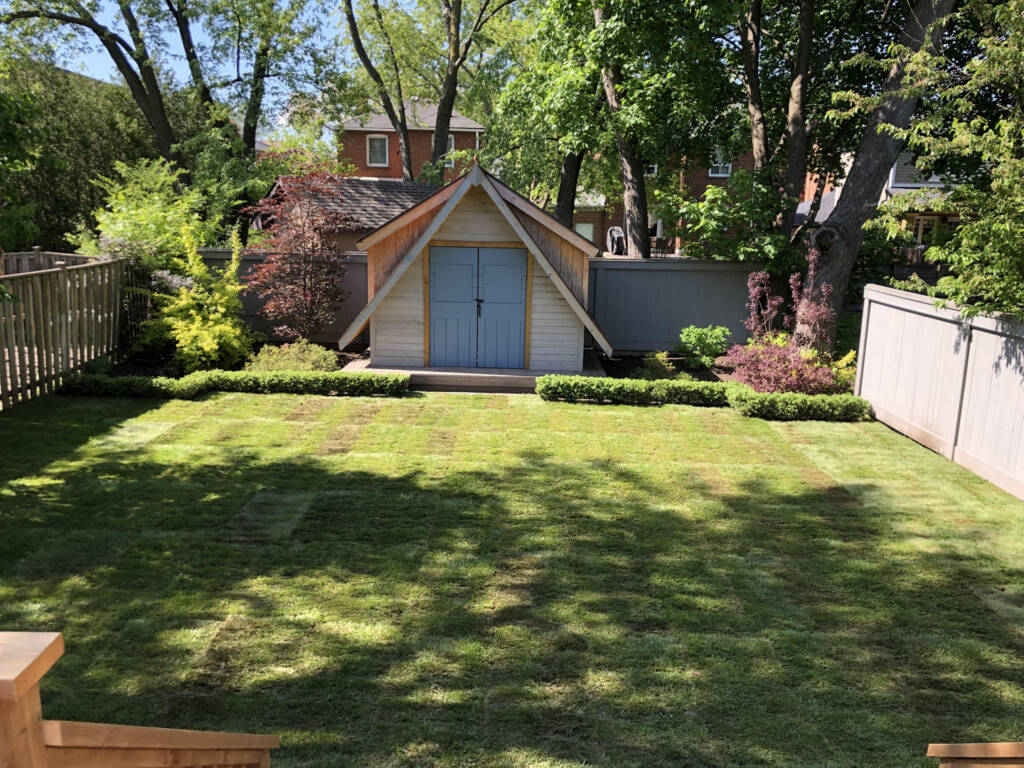
Sod begins to develop shallow roots within 7–14 days if watered properly. Deeper root establishment typically occurs between 3–6 weeks, depending on temperature, watering consistency, and soil prep. During this time, reduce watering frequency gradually to encourage deeper rooting. Avoid mowing or heavy foot traffic until sod resists a gentle tug.
Avoid walking on new sod for at least 2–3 weeks. Foot traffic during this stage can shift sod pieces, damage delicate roots, and cause uneven settling. Wait until the sod is well-rooted and passes the “tug test” before allowing pets, kids, or mowers on the lawn. Hold off on digging or installing heavy objects for up to a month post-installation.
Wait until the grass reaches 3.5 to 4 inches in height, typically around 2–3 weeks after installation. Ensure roots are well-established before mowing to avoid pulling up sod. Use a sharp mower blade, and follow the ⅓ rule: never cut more than one-third of the grass blade height at a time to reduce stress.
Yes. Overwatering is a common mistake that can lead to root rot, fungal growth, or shallow rooting. Newly installed sod should be watered daily for the first 7–10 days, then gradually reduced. Soil should remain consistently moist, but not soggy. Use a soil moisture meter or test with your finger to avoid drowning the roots.
Yes. Dog urine contains high levels of nitrogen and salts that can burn sod and create yellow patches, especially while it’s still rooting. While a small amount of nitrogen can be beneficial, repeated exposure in the same area overwhelms the sod. Training your dog to use a designated area or rinsing the spot with water immediately after urination can help reduce damage.
Dogs should stay off newly sodded lawns for at least 14–21 days, but ideally up to 6 weeks, to allow for full root establishment. Early access can result in turf shifting, urine burns, and compaction. Until the lawn passes the tug test and watering has been reduced, treat your sod as a fragile surface.
Sod offers instant results, faster usability, and fewer weeds, while seed is more affordable and easier to transport but takes longer to establish. Choose sod if you need a quick fix, erosion control, or uniform appearance. Choose seed if you have time, a limited budget, or want to customize your lawn’s grass type.
Possibly. Yellowing sod is often caused by heat stress, improper watering, or poor soil contact. If the sod is still alive, you can often revive it with consistent watering, improved soil aeration, and a light application of starter fertilizer. Check for drainage issues and avoid overwatering. In some cases, yellow patches may need to be replaced.
Learning sod installation can be tough, especially for new homeowners. Since buying sod and other lawn supplies can be an expensive affair, it is always suggested to consult professional landscapers for this job. At JHC Landscaping Services, you don’t have to worry about the complexities that come with any lawn work. As a professional landscaping company, we not only help you get the right sod for your lawn but also ensure that your lawn remains lush throughout the year.